Lard. A few years ago I would have scoffed at the idea of eating/using lard. Lard?! FAT?!
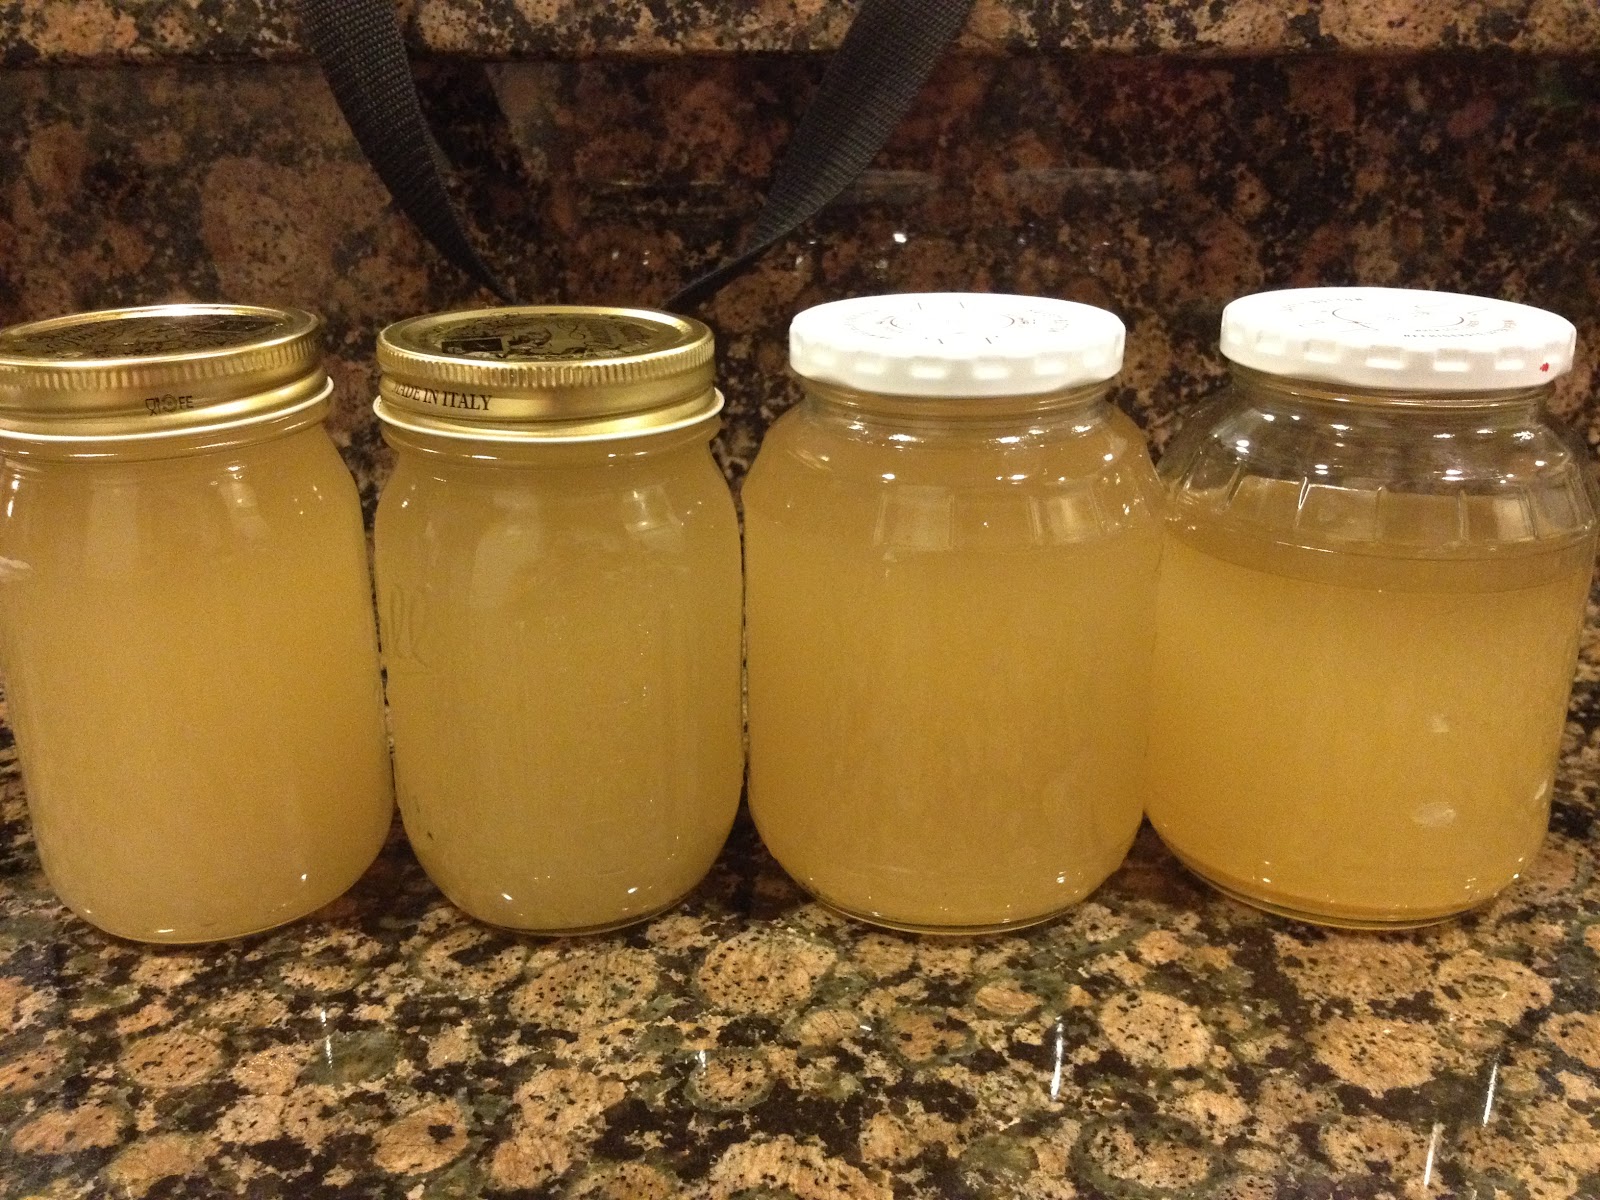
I am so glad God has led us to change our eating ways. Isn't it beautiful? (this is the lard after rendering and straining - it is solid and white/creamy colored once it cools)
Oh, and it's a great source of Vitamin D. Get it from foraging pastured pork from a farm like this.
Rendering lard is incredibly easy peasy. You can do it in the oven, on the stove, or in a crock pot. I highly recommend doing it in the crock pot. I doubt I will do any other way ever again!
This is one of the EASIEST things you could do to change your eating and help nourish your body. Do this and use as one of your fats in cooking. This is one of the things you need to do when beginning and staying on the GAPS diet or if you are eating Paleo/Primal.
We use it for scrambling eggs, greasing pans for egg casseroles, sauteing vegetables, roasting vegetables, frying eggs or meat patties, and we add extra in when we fry bacon.
Here's where I first read about rendering lard and how to do it. I followed these steps to render beef tallow my first time. When I decided to render some lard, I decided to give it a try in the good old crock pot. Less heat, less work, no need to check on it...yay.
Below the method instructions you'll find why rendering lard is one of my most favorite things to do...
Steps to render lard (or tallow) - {Method}
Instructions:
 Mmmm....
Now go get some pork fat and render some lard and EAT THE CRACKLINGS. Someone correct me if I am not calling them the right thing...
We use it for scrambling eggs, greasing pans for egg casseroles, sauteing vegetables, roasting vegetables, frying eggs or meat patties, and we add extra in when we fry bacon.
Here's where I first read about rendering lard and how to do it. I followed these steps to render beef tallow my first time. When I decided to render some lard, I decided to give it a try in the good old crock pot. Less heat, less work, no need to check on it...yay.
Below the method instructions you'll find why rendering lard is one of my most favorite things to do...
Steps to render lard (or tallow) - {Method}
Instructions:
- You need the fat to be chopped into tiny tiny pieces to render best. Mine comes pre-chopped (thank you, amazing farm!) If your fat is not cut up, you will want to thaw it enough to cut and cut into smaller pieces. I have read that others will cut into chunks and then pulse in the food processor in batches to cut it into small pieces.
- If your pork fat is already all cut up, just thaw it!
- In your crock pot, you can put about 1/4 cup of water (this is optional and cooks away during rendering - I have read it helps prevent burning of the fat. It is not necessary). Then place your thawed fat in the crock pot and turn it on low.
- Try and mash it around to be an even thickness rather than a pile in the middle.
- Let it cook on low all day! I usually stir a couple of times during the day. You will see it begin to melt and then eventually, it will be almost all liquid with 'cracklings' left. Little brown bits of fat.
- Strain the lard with a strainer lined with cheesecloth. (I highly recommend straining it into a bowl or large measuring cup with a pour spout.)
- Pour into jars. Let cool on counter. Then store in fridge. It keeps for months.
- BUT WAIT!!! All those bits of fat left in the cheesecloth from straining? DO NOT, I repeat, DO NOT throw them away. SAVE THEM.

Now go get some pork fat and render some lard and EAT THE CRACKLINGS. Someone correct me if I am not calling them the right thing...
Are you supposed to put the lid on?
ReplyDeleteYes, put the lids on after the jars have cooled.
ReplyDeleteCan you render lard from any other meat besides pig?
ReplyDelete